
Last updated September 20, 2026
Full 25-point door and opener safety check with every visit - springs, cables, rollers, tracks, and your LiftMaster or Chamberlain opener included
You get a price before we start. It does not change when the truck arrives.

LiftMaster openers
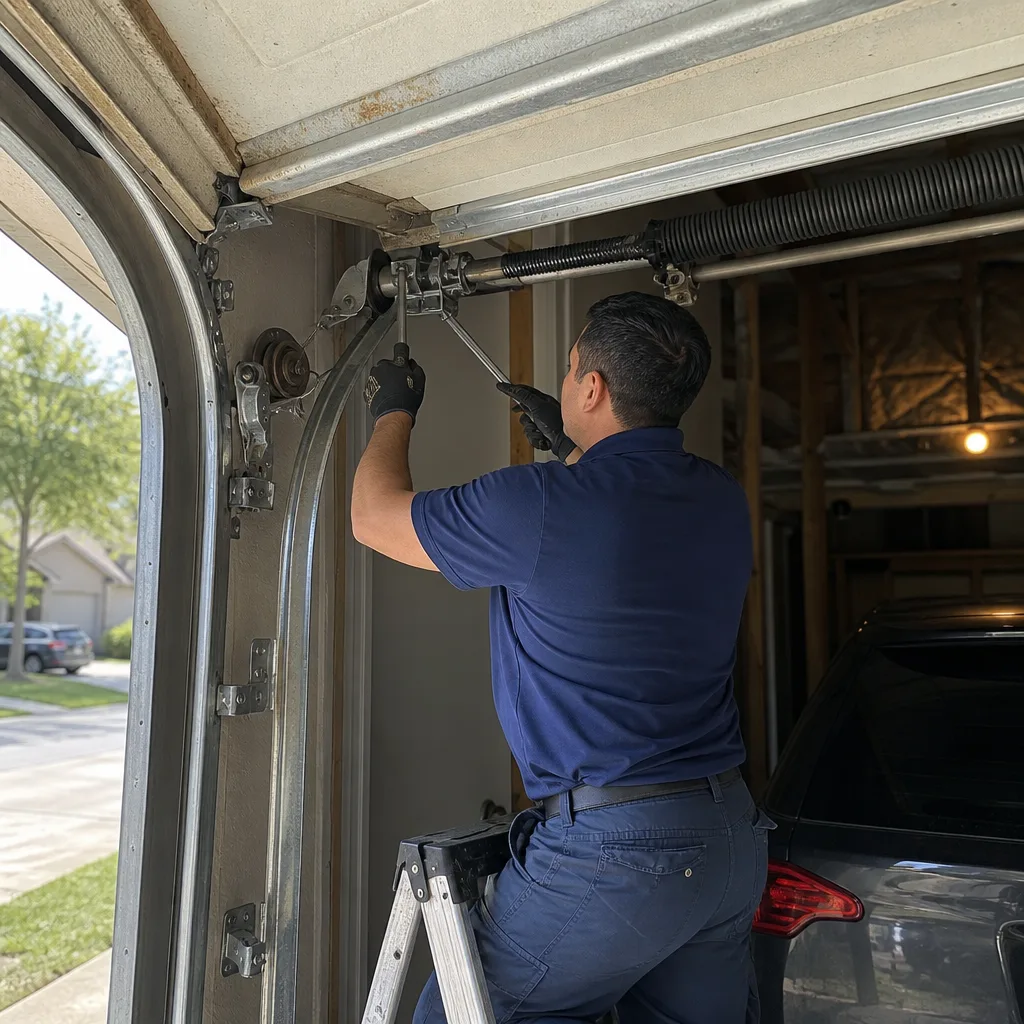 Before
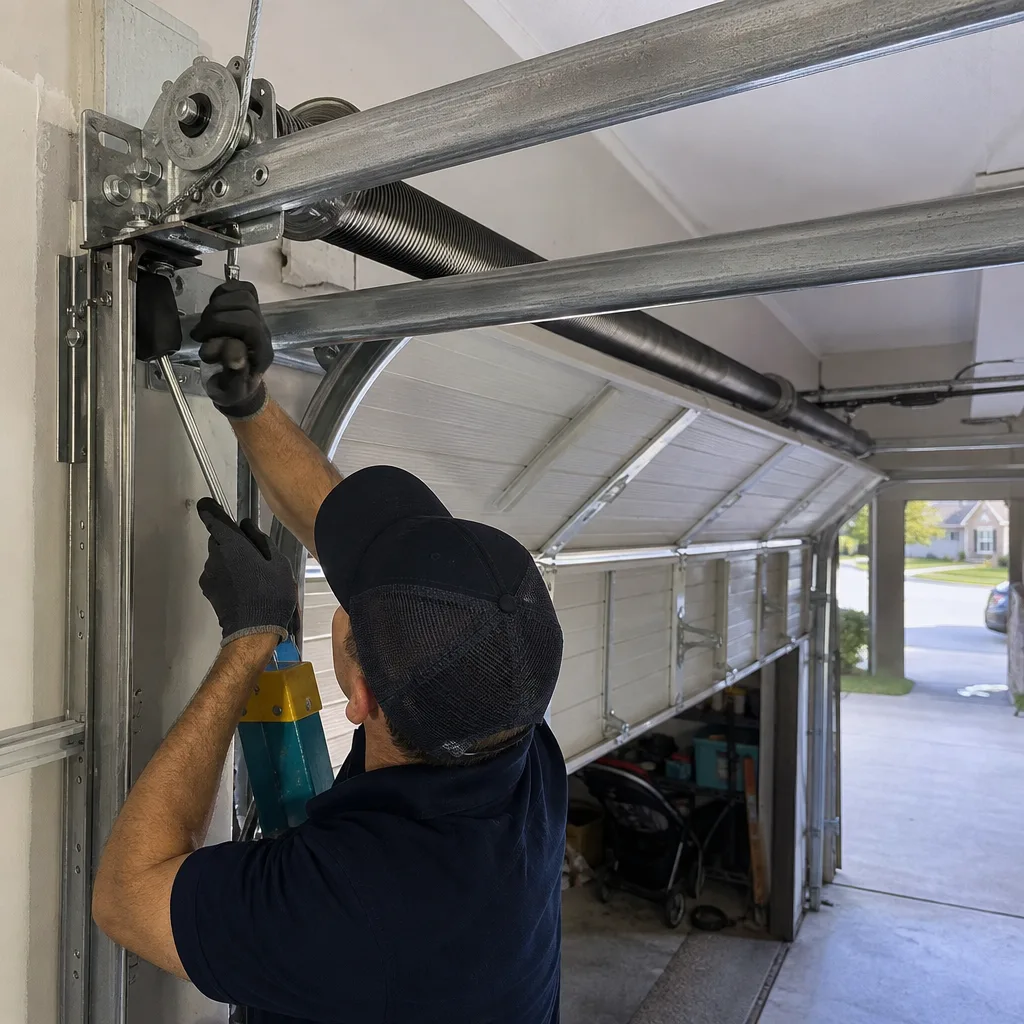 After
After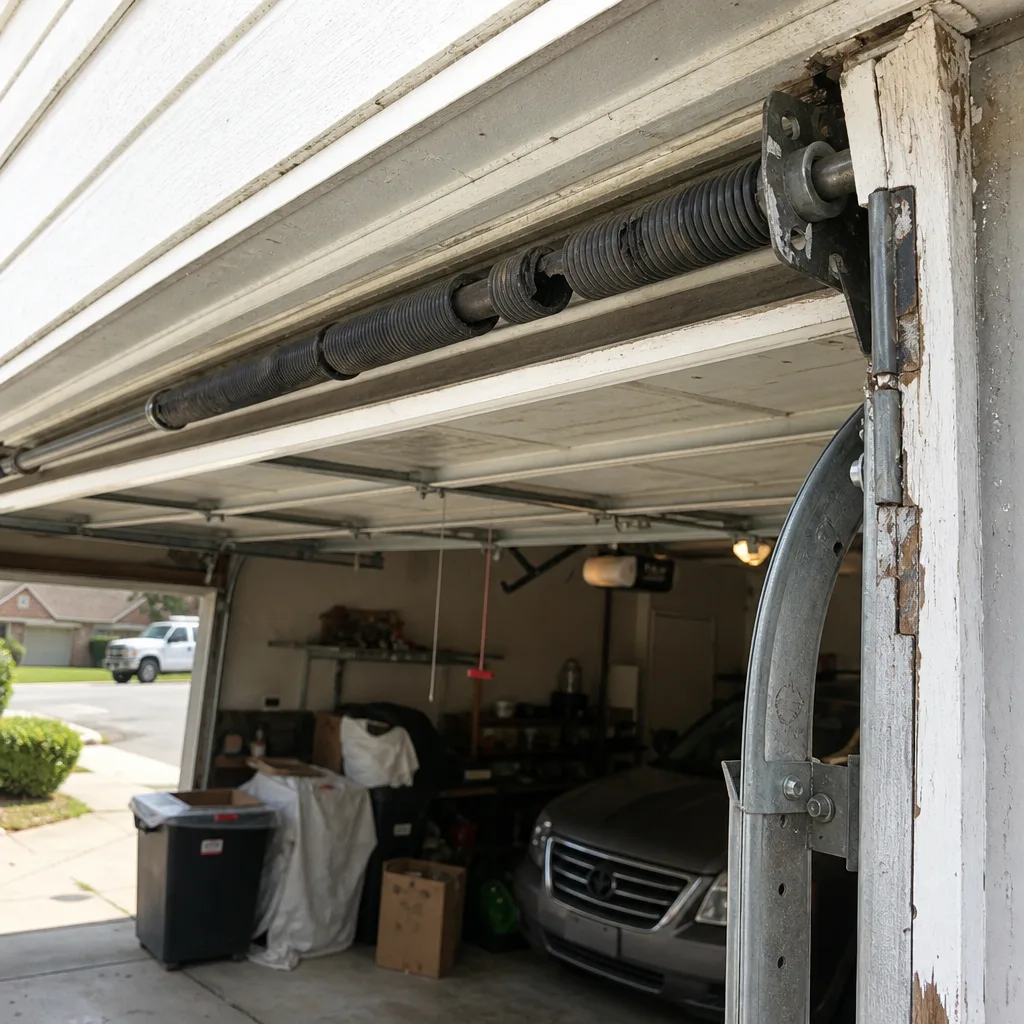 Before
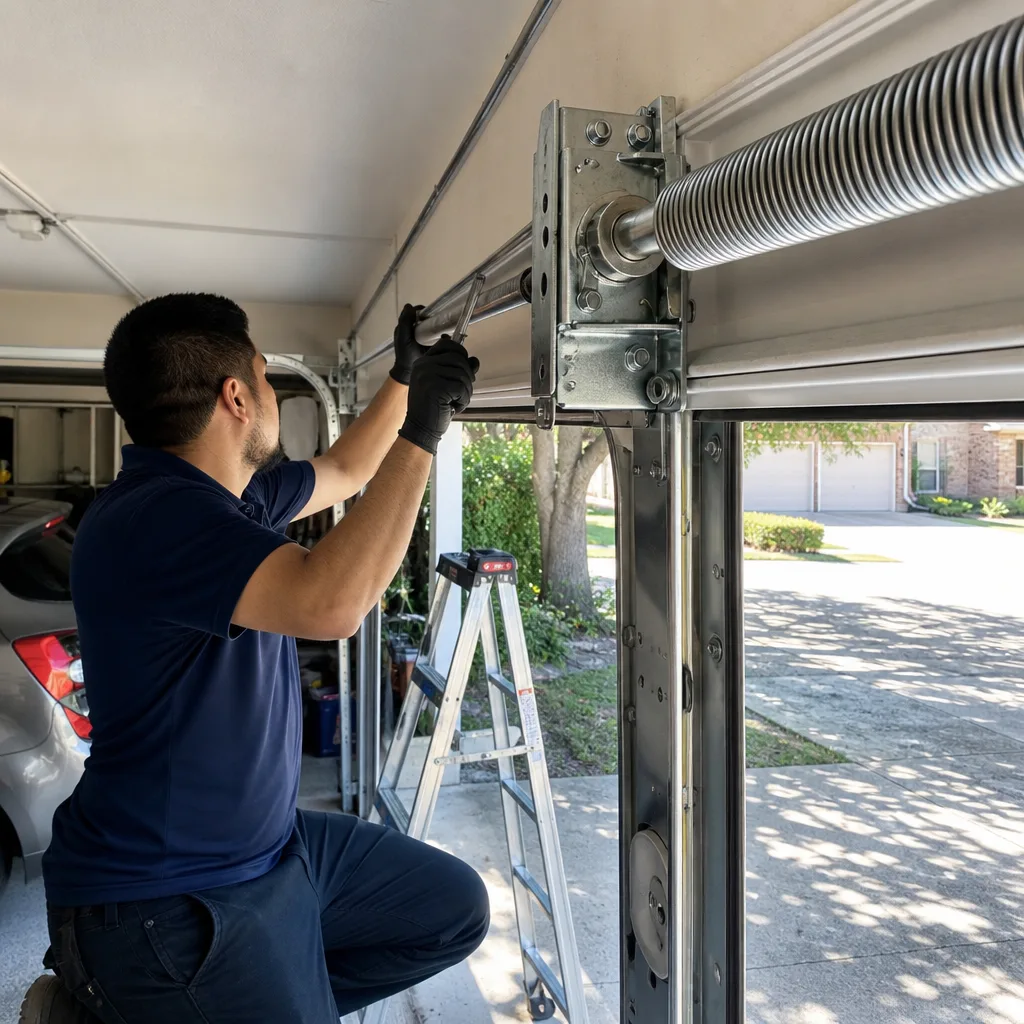 After
After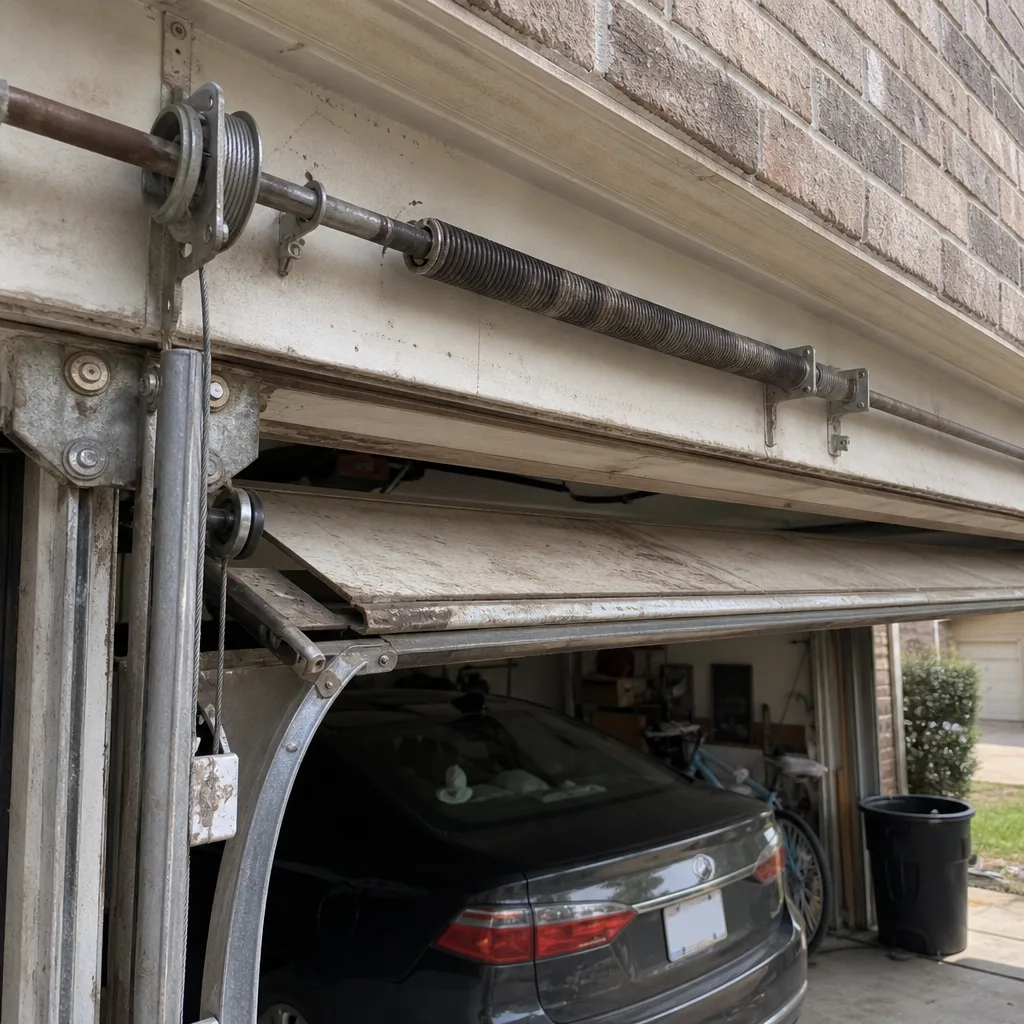 Before
 After
AfterGarage Door Repair Maintenance Checklist for Carrollton Homeowners
Most garage door maintenance checklists floating around the internet are liability documents disguised as helpfulness. They tell you to “inspect the springs” without telling you what a failing torsion spring actually looks like up close. They advise you to “lubricate moving parts” without mentioning that white lithium grease on nylon rollers accelerates wear, while silicone spray does not. This guide is different. Every task here includes the measurement, the tolerance, or the visual cue that separates a door that’s fine from a door that’s three months away from a $400 repair. If you own a home in Carrollton, your garage door cycles roughly 1,500 times a year in North Texas heat, clay soil, and the occasional ice storm. That’s 1,500 opportunities for a small problem to become an expensive one.
Quick Answer
A proper garage door maintenance routine in Carrollton takes about 45 minutes twice a year. You need to test the balance (the door should hold position within two inches of drift over 60 seconds), lubricate with silicone spray on nylon rollers and white lithium grease on metal hinges and torsion spring coils, check that the safety reversal system stops and reverses within two seconds of contact, and inspect the weather seal at the threshold for gaps caused by North Texas clay soil heaving. Most of this is DIY-friendly; the spring tension adjustment is not, and we’ll explain exactly why.
Table of Contents
- The 12-Point Inspection Sequence with Pass/Fail Criteria
- The Lubricant Matrix: What Goes Where, What Never Does
- The Door Balance Test and the Two-Inch Rule
- Carrollton-Specific Factors: Clay Soil, Threshold Gaps, and Texas Heat
- What Voids a Warranty vs. What Protects It
- The Twice-Yearly Maintenance Schedule
- Common Mistakes to Avoid
- When to Call a Professional
- Frequently Asked Questions
BeforeAfterThe 12-Point Inspection Sequence with Pass/Fail Criteria
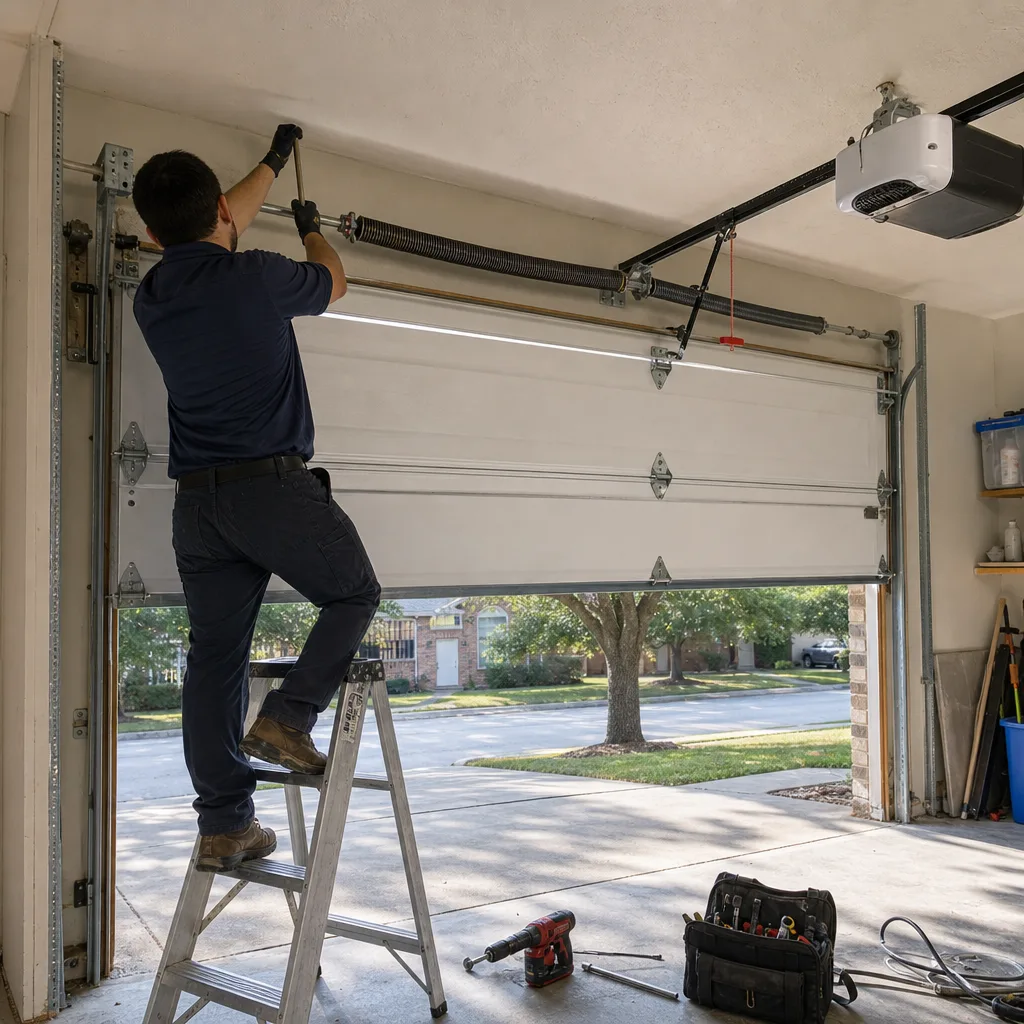
A checklist only works if you know what you’re looking at. “Inspect the rollers” is useless. “Look for a gap of more than three millimeters between the roller stem and the hinge tube” is something you can actually do. Here’s the full sequence we use when we work on doors in Carrollton, adapted for a homeowner with a stepladder and a flashlight. Run through this in order, twice a year, and you’ll catch most failures before they strand you.
- Torsion spring gap check. Look at the spring coil above the closed door. On a standard 16-foot door, the coils should sit tight against each other with no visible gap. A gap of two millimeters or more between coils means the spring has begun to stretch or fatigue. That’s the earliest visual warning. The spring is still working, but it’s in the last third of its service life. Note it and plan for replacement within six to nine months.
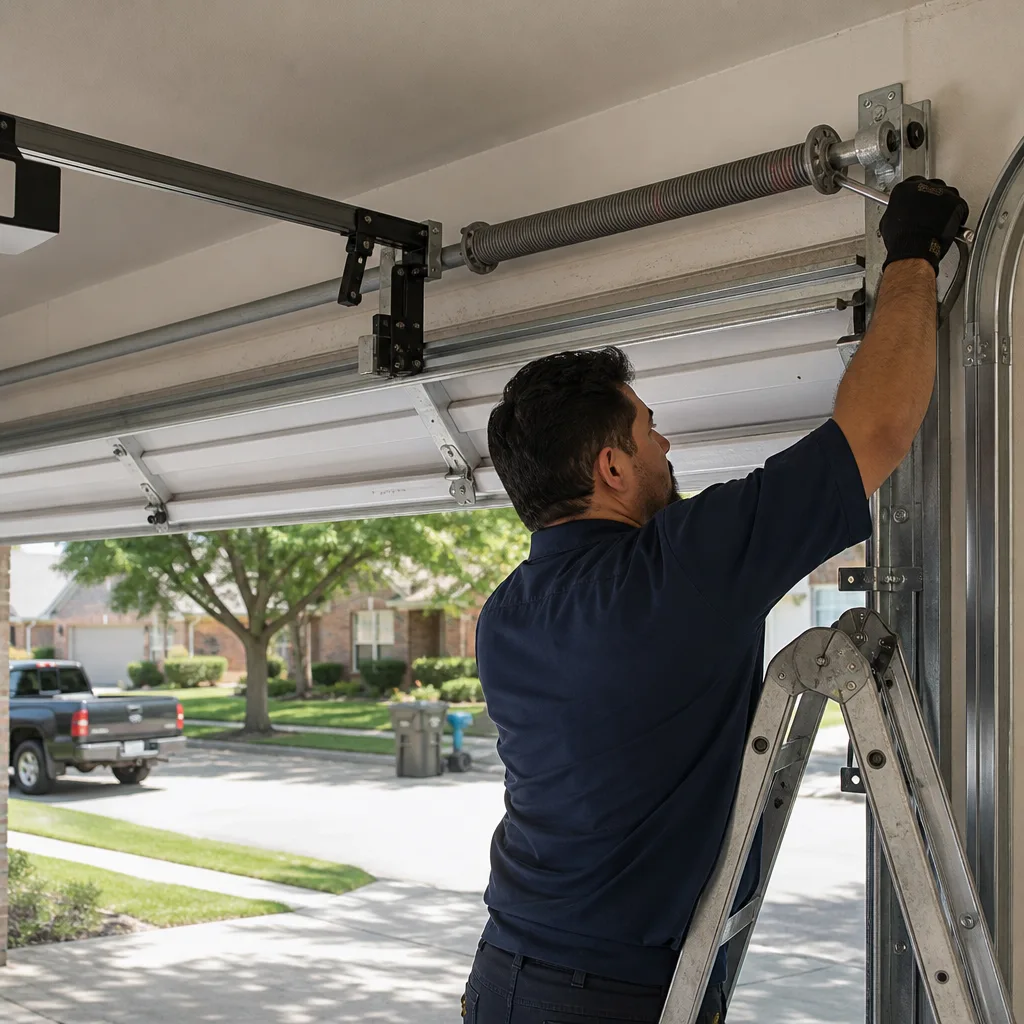
- Spring set screws and winding cone. The set screws on the winding cone should be flush against the spring shaft with no rust dust around the threads. Rust dust, also called fretting corrosion, means the screw is vibrating loose. Do not tighten these yourself. Torsion springs are under high tension. Call a professional who works with these every week.
- Cable condition. The lift cables on both sides of the door should run straight along the track without fraying. Run a gloved hand along the cable length. If you feel a single broken strand or see a birdcage bulge, that cable has already lost integrity. A snapped cable on a spring-loaded door can whip and cause serious injury. Replace at the first sign of strand separation.
- Roller inspection. With the door closed, inspect the rollers at eye level first, then open the door to mid-travel and check the rest. On nylon rollers, the outer sleeve should be smooth with no flat spots or cracks. On steel rollers, look for visible wear rings where the roller meets the track. A roller with a flat spot will thump every time the door passes that section of track, which transmits vibration to the opener rail and shortens motor life.
- Roller stem play. Grab each roller stem where it enters the hinge and try to wiggle it. Play of more than three millimeters in any direction means the hinge tube has worn oval. This is common on doors more than eight years old, and we see it regularly in Carrollton homes built in the 1990s and early 2000s where the original hardware is still in service.
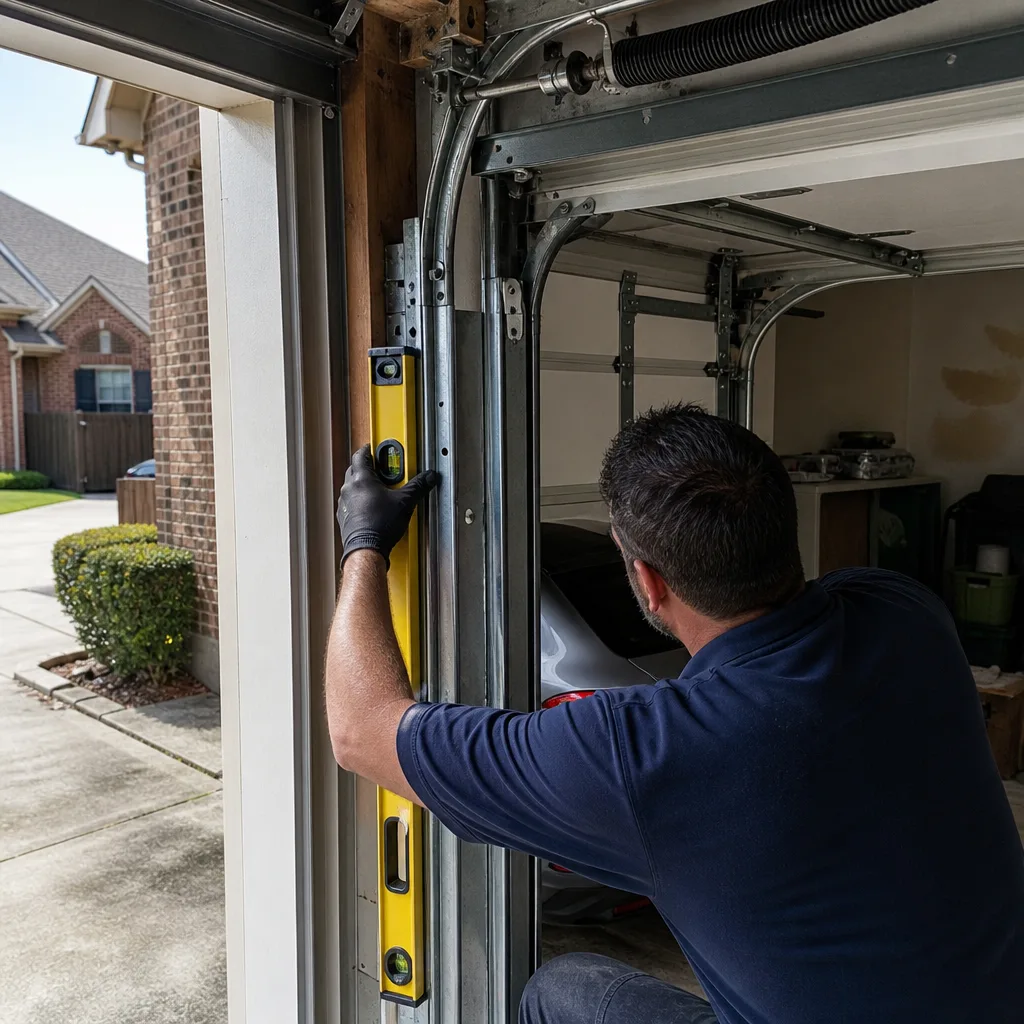
- Track alignment. Stand at the back of the garage and sight down each vertical track. It should be perfectly plumb with the horizontal track meeting it in a smooth radius. A track that’s out of vertical by more than 1/8 inch over a foot will cause uneven door travel and premature roller wear. Check the track mounting bolts while you’re there; loose bolts are the most common cause of creeping misalignment.
- Hinge inspection. All hinges should open and close freely with no visible cracks in the stamped steel. Pay attention to the number-one hinge, the bottom hinge on each side, which takes the most load. A hairline crack at the pivot hole means that hinge is done. Replace it before it fails at full open and drops the door section.
- Bearing plate and end bearings. The end bearing plates that hold the torsion tube should show no rust stains running down the wall, because a rust stain means the bearing has been getting hot or the seal has failed. Spin the door manually at the halfway point if you can; a rumbling or grinding feeling through the track is a dry bearing.
- Opener rail and trolley. The trolley carriage that connects the opener arm to the door should slide smoothly along the rail. If it’s jerky, the rail needs cleaning and re-greasing. The opener arm itself should be straight with no bowing. A bowed opener arm means someone tried to force the door open manually while it was still connected to the trolley, or the door is binding on one side.
- Safety reversal test. Place a two-by-four flat on the floor under the door path, then close the door. The door should contact the board and reverse within two seconds, lifting back up at least four inches. If it doesn’t reverse, your opener is non-compliant with current safety standards and you should stop using the door until it’s repaired or replaced.
- Photo eye sensors. The sensors on either side of the door opening should have solid indicator lights, not blinking. A blinking light means misalignment or a dirty lens. Wipe both lenses with a dry cloth. If the light stays blinking, check that both sensors are at the same height and the brackets haven’t been knocked loose by a car tire or a garbage bin.
- Weather seal and threshold. The rubber seal at the bottom of the door should make full contact with the garage floor across the entire width. Slide a piece of paper under the seal at six points; if it slides freely at any point, you’ve got a gap. In Carrollton, that gap is usually caused by slab heaving, not by a worn seal. More on that below.
That’s the full sequence. If everything passes, your door is in good running condition. If items one, two, three, or ten fail, stop using the door and call a professional. Those four involve components that can cause serious injury or property damage when they let go.
The Lubricant Matrix: What Goes Where, What Never Does
Lubrication is where most well-intentioned maintenance goes wrong. The wrong product on the wrong component causes more damage than no lubrication at all, because it attracts dust and grit that turns into an abrasive paste. Here’s the product-to-component matrix we recommend for Carrollton’s climate, where summer dust and winter damp both work against you.
| Component | Correct Product | What To Avoid | Reason |
|---|---|---|---|
| Nylon roller bearings | Silicone spray | White lithium grease | Petroleum-based grease degrades nylon, causing rollers to crack and seize. Silicone penetrates the bearing without attacking the polymer. |
| Steel roller bearings | White lithium grease or silicone spray | WD-40 | WD-40 is a solvent, not a lubricant. It strips existing grease and leaves the bearing dry within days. |
| Torsion spring coils | Spray silicone or lithium grease | Nothing with graphite | The spring coils rub against each other on every cycle. A light coat of spray lubricant prevents coil-on-coil friction. Graphite is conductive and can interfere with nearby sensors. |
| Hinge pivot points | White lithium grease, sparingly | Heavy bearing grease | Hinges need a thin film, not a coating. Heavy grease traps grit and grinds the pivot hole oval. |
| Lock cylinders (if equipped) | Graphite powder | Any wet lubricant | Wet lubricant in a lock cylinder collects dust and jams the tumblers. Dry graphite is the only thing that belongs in a keyhole. |
| Opener rail and chain | White lithium grease on the rail; a light machine oil on a chain | Silicone spray | Silicone on an opener rail is too thin and runs off. The rail needs a grease film that stays put. A chain needs a penetrant oil, not a grease. |
| Track (the vertical and horizontal channel) | Nothing | Any lubricant | Rollers roll; they don’t slide in the track unless something is wrong. Lubricating the track collects dirt and eventually binds the roller. Keep tracks clean and dry. |
The most common mistake we see on doors throughout Carrollton is white lithium grease applied to nylon rollers. The petroleum carrier breaks down the nylon outer sleeve, causing micro-cracking that ultimately seizes the roller. Then the roller skids instead of rolls, carving grooves into the track and putting lateral load on the opener. A tube of the wrong grease turns into a $200 roller replacement and potentially a new track section. If you’ve got a LiftMaster opener with nylon rollers, check what’s actually on them. If it’s white and sticky, wipe it off with a dry rag and start over with silicone spray.
The Door Balance Test and the Two-Inch Rule
Here’s the maintenance test that matters more than anything else, and it takes less than two minutes. The balance of your door determines whether the torsion springs are doing their job. If the springs are correct, the opener motor is lifting almost no weight. If the springs are worn or incorrectly set, the motor is pushing extra pounds on every cycle, which shortens its life from a typical ten to twelve years down to three or four. The test is simple.
- Pull the red emergency release cord on the opener trolley. The door is now disconnected from the motor.
- Lift the door manually to waist height, about halfway up the track.
- Release the door gently. Don’t push it up or pull it down. Just let go.
- Watch what happens. The door should hold position with no more than two inches of drift in either direction over 60 seconds.
That two-inch tolerance is the number every competitor’s checklist omits. A door that drifts down more than two inches means the springs have lost tension and are no longer counter-balancing the weight of the door. That’s a spring fatigue problem, not an adjustment problem, and adjusting an old spring is a temporary fix that wastes the service call. A door that drifts up more than two inches means the springs are over-tensioned, which puts reverse load on the opener when it tries to close the door.
In our experience in Carrollton, a door that drifts more than two inches within 60 seconds will kill the opener motor within 18 months if the springs aren’t replaced. The motor is simply working harder than it was designed to. Chamberlain and Genie openers have overload sensors that will trip, but older LiftMaster units will run hot until the capacitor or the logic board fails. The repair on the back end costs more than the spring replacement would have on the front end.
If your door fails the balance test, the fix is a spring replacement, not an adjustment. Schedule it before the opener pays the price.
Carrollton-Specific Factors: Clay Soil, Threshold Gaps, and Texas Heat
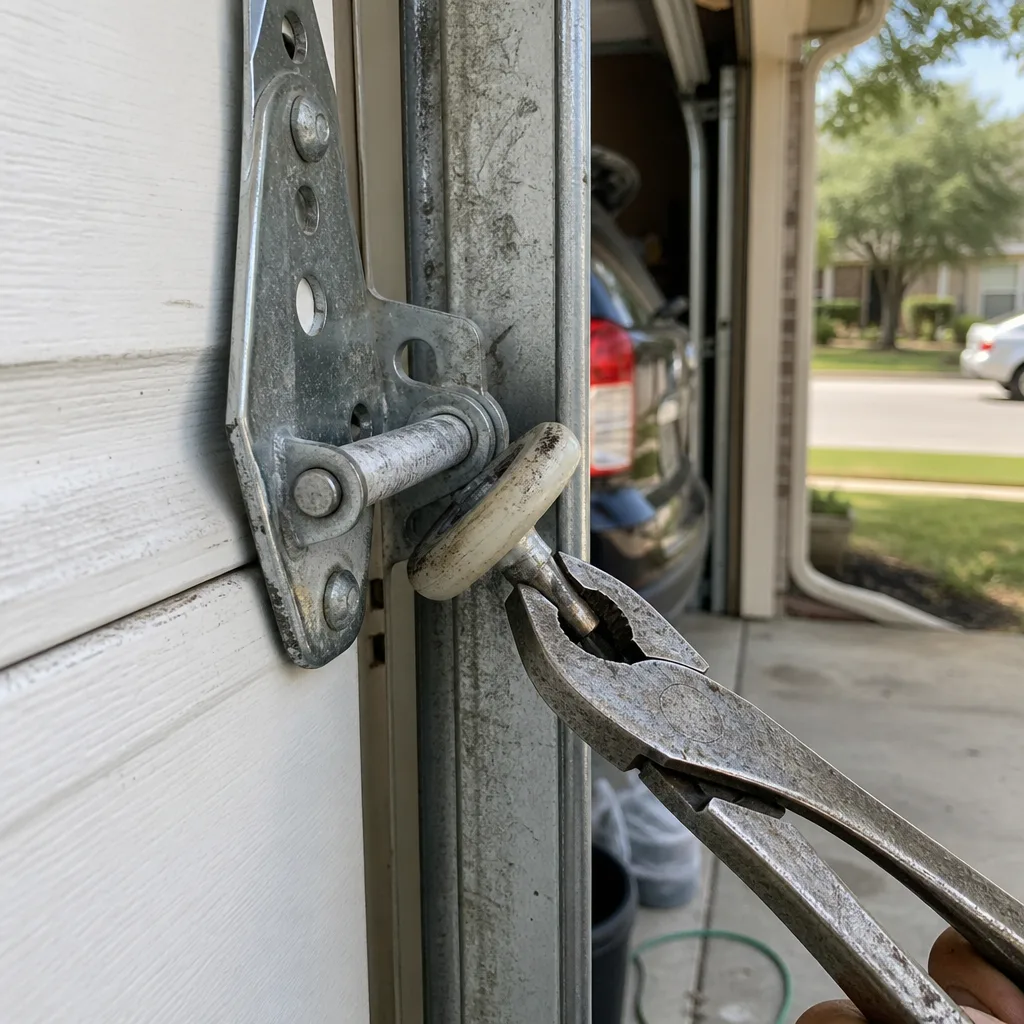
Carrollton sits on the Eagle Ford shale and the expansive clay soils of the Blackland Prairie. These soils swell and contract dramatically with moisture cycles, which means your garage slab moves. Not enough that you’d notice standing in the garage, but enough that the bottom weather seal loses contact with the floor in one corner while staying tight in the other three. The tell-tale sign is a diagonal light gap under the door that appears in late summer after a dry spell, then closes up after a rainy week. That’s not a door problem. That’s the slab breathing.
When you see that seasonal gap, don’t immediately replace the bottom seal. Measure the gap first. If it’s under 1/4 inch, the seal will flex through the season and you can leave it. If it’s between 1/4 inch and 1/2 inch, you can adjust the limit switch on the opener so the door settles a fraction lower, but only do this after checking that the door still opens to full clearance for a vehicle. If the gap is over 1/2 inch, the slab has heaved enough that the door is running out of plumb on one side, and that will transfer stress to the hinges and the track. At that point, a professional needs to evaluate whether the track should be shimmed at the floor bracket or the bottom seal needs a stepped profile to follow the slab contour.
Texas heat is the second Carrollton-specific factor. Garage temperatures in July and August regularly exceed 110 degrees, and that heat accelerates every polymer component in the system. Nylon rollers get brittle faster. Weather seals lose flexibility sooner. Torsion springs, which are steel and less heat-sensitive, still suffer because the heat expands the metal slightly and shifts the set point of the winding cones if the set screws aren’t tight. If you have a Raynor door, which uses a different spring configuration than the more common torsion tube setup, the end brackets are more sensitive to heat-driven expansion and should be checked for loosening annually.
Winter brings the third factor: freeze-thaw cycling. Carrollton gets enough cold snaps that condensation forms on the metal components, then freezes. When water gets into the roller bearing and freezes, it expands and can crack the bearing seal. That’s why the lubrication schedule matters in fall, not just spring. A freshly lubricated bearing has no water inside, and the lubricant film prevents condensation from finding a way in.
What Voids a Warranty vs. What Protects It
This is the section that saves people money, because the line between maintaining your door and voiding a manufacturer warranty is thinner than most homeowners realize. Every major brand has specific language in the warranty document about what the owner may and may not do. Here’s the short version for the brands most common in Carrollton homes.
Spring adjustments and replacement. The torsion springs are load-bearing components under high tension. Every manufacturer warranty on springs and stamped warranty components is voided by self-adjustment or self-replacement. LiftMaster and Genie both state this in the documentation. The reason isn’t just liability; it’s that a spring wound incorrectly changes the load distribution across the door and invalidates the engineering assumptions that the warranty is based on. If springs are involved, call a licensed professional with documentation.
Routine lubrication. Lubrication, on the other hand, is explicitly required by most warranty documents. Chamberlain’s written maintenance guidance requires lubricating rollers and hinges at intervals specified in the manual. Failure to do so can be grounds for a warranty denial if a component fails from corrosion or friction damage. The act of lubricating with the correct product protects your warranty. The act of lubricating with the wrong product technically voids it, because you’ve introduced a contaminant. Keep a record of what you used and when, because a warranty claim that includes a maintenance log gets approved faster than one that doesn’t.
Opener logic board or motor. The opener itself is covered under its own warranty, usually one to two years for parts with a separate motor warranty. The opener warranty is voided by any modification to the unit, which includes splicing the wiring or replacing the logic board yourself. It’s also voided if the opener was overloaded because the door was out of balance. This is where the balance test connects to your pocket: a door that drifts more than two inches means the opener is running under overload conditions, and the manufacturer can deny a motor warranty claim on that basis. The balance test isn’t just maintenance. It’s documentation.
DIY repair on stamped-warranty components. Hinges, brackets, cables, and track sections on doors still under the original manufacturer’s warranty should not be self-replaced. The warranty language typically requires that replacement parts be installed by a certified technician. Your Garage Door Repair in Carrollton should come with documentation that satisfies the warranty’s installation requirement. If you replace a hinge yourself and the door section later fails at that hinge point, the manufacturer has a denial path. Ten minutes of labor savings can cost you a full door-section claim.
If you’re not sure whether a task is warranty-safe, read the maintenance section of your door manual. If you don’t have the manual, the brand’s website has a PDF. If the language is ambiguous, document everything and take photos before and after. A documented owner who followed documented maintenance wins more warranty disputes than a careful owner who never wrote anything down.
The Twice-Yearly Maintenance Schedule
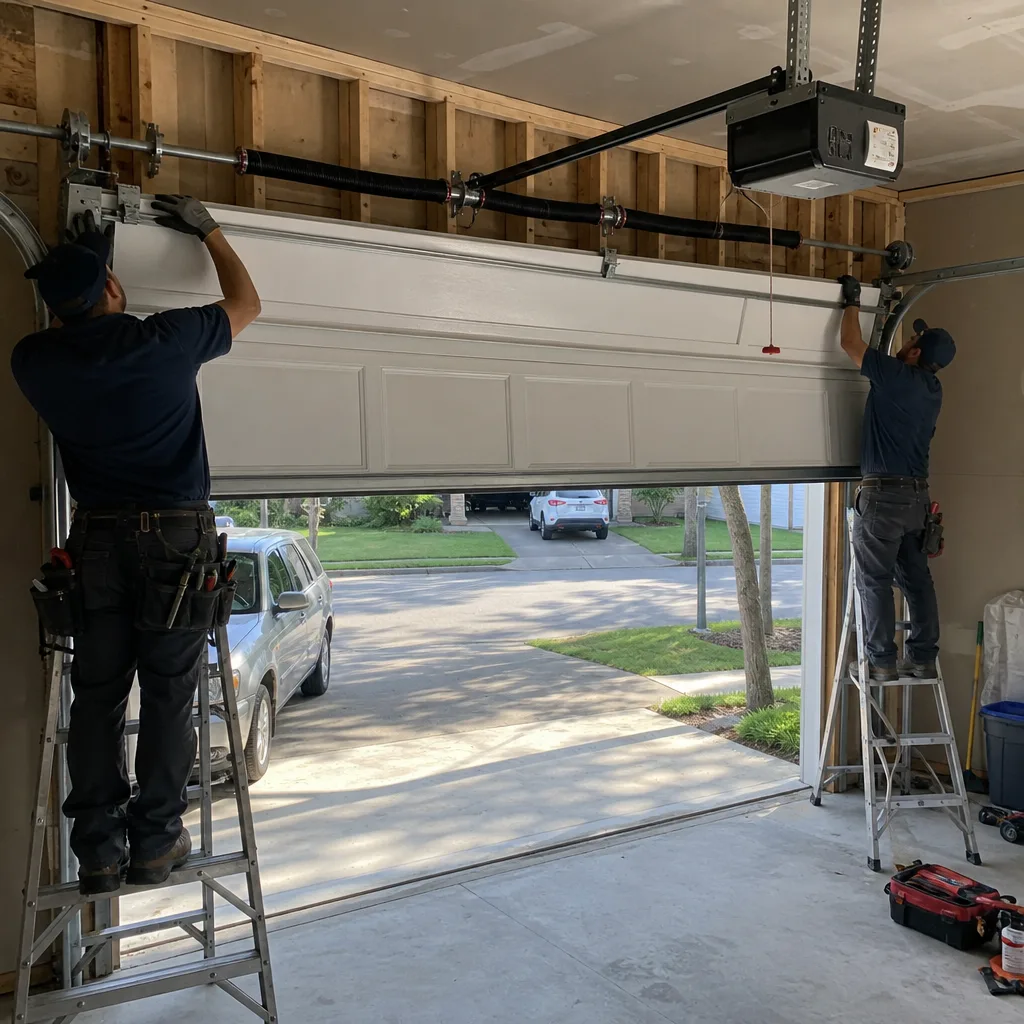
Consistency matters more than completeness. A 45-minute check in March and again in October catches 90% of the failures we see in Carrollton before they become emergencies. Here’s the structured schedule. March covers the damage winter may have done. October preps for the cold snap that will hit in late December or January.
March (post-winter, pre-heat):
- Run the full 12-point inspection sequence.
- Lubricate all hinge pivot points and roller bearings with the correct product from the matrix.
- Check the opener motor housing for rust or signs of freeze damage.
- Verify the photo eye sensors are aligned and the lenses are clean.
- Run the safety reversal test with a two-by-four.
- Run the balance test. Note any drift for comparison in October.
October (pre-freeze, post-heat):
- Run the full 12-point inspection sequence again, paying special attention to the weather seal.
- Lubricate hinges, rollers, and spring coils before the cold condensation season.
- Check the torsion spring for coil gaps that opened over the summer.
- Verify the track mounting bolts are tight; summer heat expansion loosens them.
- Run the balance test and compare against your March notes. If the drift increased, you’re seeing progressive spring fatigue.
- Check the emergency release cord and make sure it hasn’t been shortened, knotted, or tied up.
Keep the inspection in a small notebook or a note on your phone. The value isn’t just remembering what you did; it’s the trend line. A spring that showed zero gap in March and a one-millimeter gap in October is still functionally fine, but now you know it’s degrading, and you can budget for the replacement on your terms instead of on the spring’s.
Common Mistakes to Avoid
- Lubricating the track. The track is not a wear surface. The roller rolls on it. Lubricant on the track attracts the fine dust that blows through Carrollton all summer and turns it into grinding paste. Keep tracks clean and dry, which means wiping them with a dry rag only.
- Using WD-40 as a universal lubricant. WD-40 is a water displacer and solvent, not a lubricant. It strips the grease you applied last season and leaves the bearing dry. Use it to clean, never to lubricate.
- Tightening the torsion spring set screws yourself. The spring is under enough tension to break a bone or worse if the winding bar slips. This is not a caution about effort; it’s a caution about a physics problem. Every year, homeowners go to the hospital trying to save $180. The math never works.
- Ignoring a thumping door. A rhythmic thump when the door moves means a flat-spotted roller or a misaligned track joint. It will get worse, and the vibration travels into the opener motor mount. Fix the roller now or replace the opener next year.
- Painting over rust on hardware. Rust on hinges, brackets, or cables means the component has already lost material. Paint hides the symptom and traps the moisture that’s still working. Replace the component and paint the surrounding area, not the rusted part.
- Adjusting the opener force settings to compensate for a heavy door. If the door is drifting down during the balance test and your solution is cranking the opener force, you’ve solved the problem by overloading the motor. The correct fix is the spring, not the force dial. A heavy door is a spring problem, always.
- Skipping the safety reversal test because it’s inconvenient. The two-by-four test takes ninety seconds. The sensor reversal test takes another minute. These are the components that prevent a garage door from crushing a child or a pet. Run them every time you do maintenance, no exceptions.
When to Call a Professional
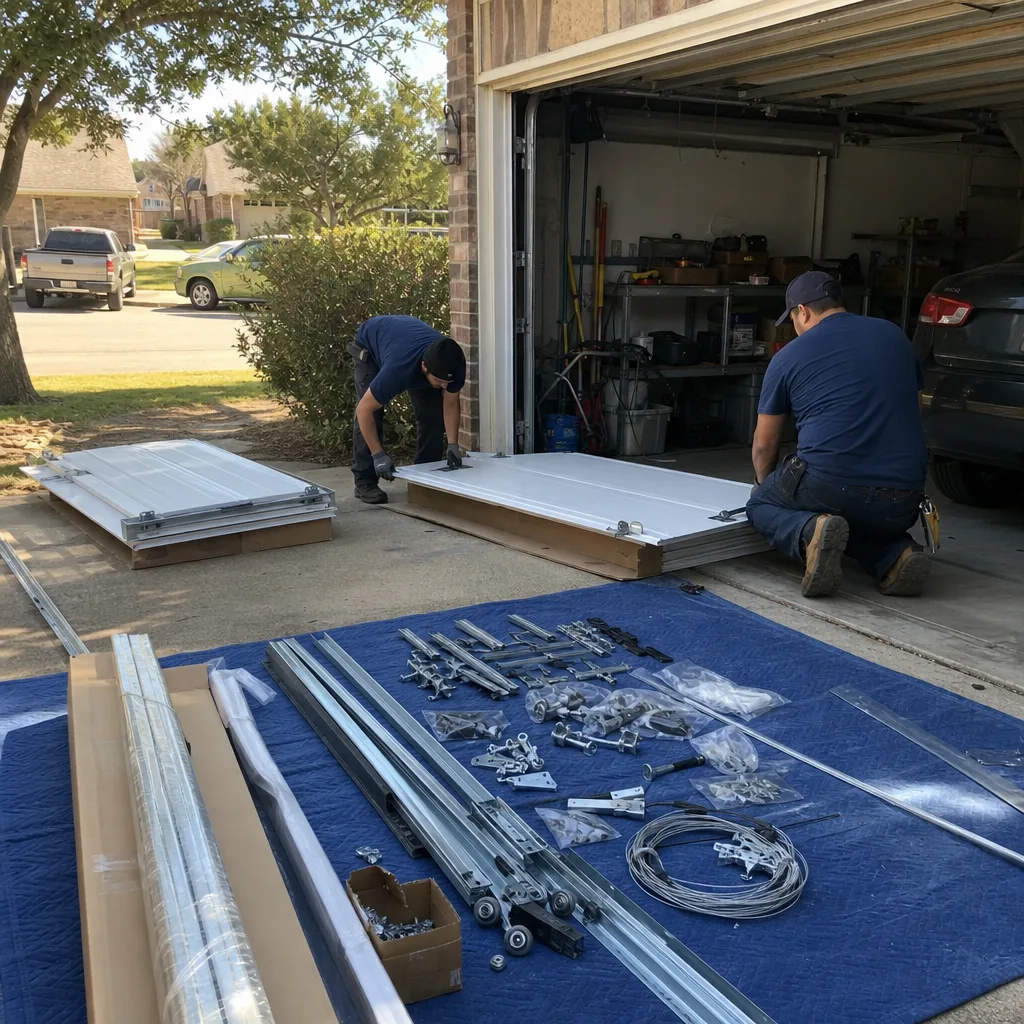
Some tasks on this checklist are meant for a homeowner. Some are not. Anything involving the torsion spring, the cables, or the track mounting hardware should be handled by someone who does this work every day and carries the right tools and documentation. If you hear a loud bang from the garage that sounds like a gunshot, that’s a spring breaking, and the door is now extremely dangerous to operate manually. Don’t try to open it. Don’t use the opener. Call a professional through our Garage Door Repair services who can replace the spring and inspect the rest of the system, because a spring that breaks under load usually takes a cable with it or bends a track bracket on the way out.
If you’re in Carrollton and you’ve run through this checklist and found a fail on any of the critical items, Servo Garage Doors Carrollton home page has details on what our service area covers. We offer free estimates in Carrollton, and every estimate is a written price with a written scope before any work starts. Call (817) 527-9864 and we’ll walk you through what you’re seeing.
Frequently Asked Questions
Most garage door maintenance in Carrollton costs between $85 and $150 for a full inspection and lubrication service, depending on whether the technician is doing just the maintenance or also replacing worn components like rollers or weather seals. At Servo Garage Doors Carrollton, every job is quoted with a flat, written price before any work starts, so you know the number before you approve anything. Call (817) 527-9864 for a free estimate.
Twice a year is the correct interval for Carrollton’s climate: once in March and once in October. Lubricate the roller bearings, hinge pivot points, and torsion spring coils at each interval, using silicone spray on nylon rollers and white lithium grease on metal components. Never lubricate the track. More frequent lubrication doesn’t help and increases the buildup that attracts abrasive dust.
Not at Servo Garage Doors Carrollton. That’s the entire point of Clause 1 of The Haven Standard: a flat, written price and written scope are delivered before any work starts, and the price on the page is the price you pay. If a technician finds an additional issue during the service, they’ll document it with a photo, show you the finding, and give you a new written price for the additional work before it begins. The original quote never changes without your approval.
Yes, our technicians carry the most commonly replaced parts for all eight major brands we service: LiftMaster, Chamberlain, Genie, Clopay, Amarr, Wayne Dalton, Craftsman, and Raynor. That includes rollers, hinges, cables, weather seals, sensor brackets, and torsion springs in common sizes. If a part isn’t on the truck, we’ll know within the first visit and schedule a follow-up with a written price before ordering.
Yes. We answer calls with a live person 24 hours a day, seven days a week, including holidays and emergency calls. When you call (817) 527-9864, you’ll get a named technician and an on-the-way text, not a callback window. Emergency spring replacement in Carrollton is typically completed the same day, depending on the spring size and door configuration. Call and we’ll tell you exactly when we can be there.
The measurable output is your March and October inspection log. You’re looking for trend lines: the balance test drift in inches, the torsion spring coil gap in millimeters, the weather seal gap in fractions of an inch. If the numbers hold steady across inspections, the maintenance is working. If they’re moving in the wrong direction, you’re seeing the early warning signs of a component failure. That documentation is also what protects your manufacturer warranty if you ever need to make a claim. For additional help, explore more guides & resources on our blog.
The Bottom Line
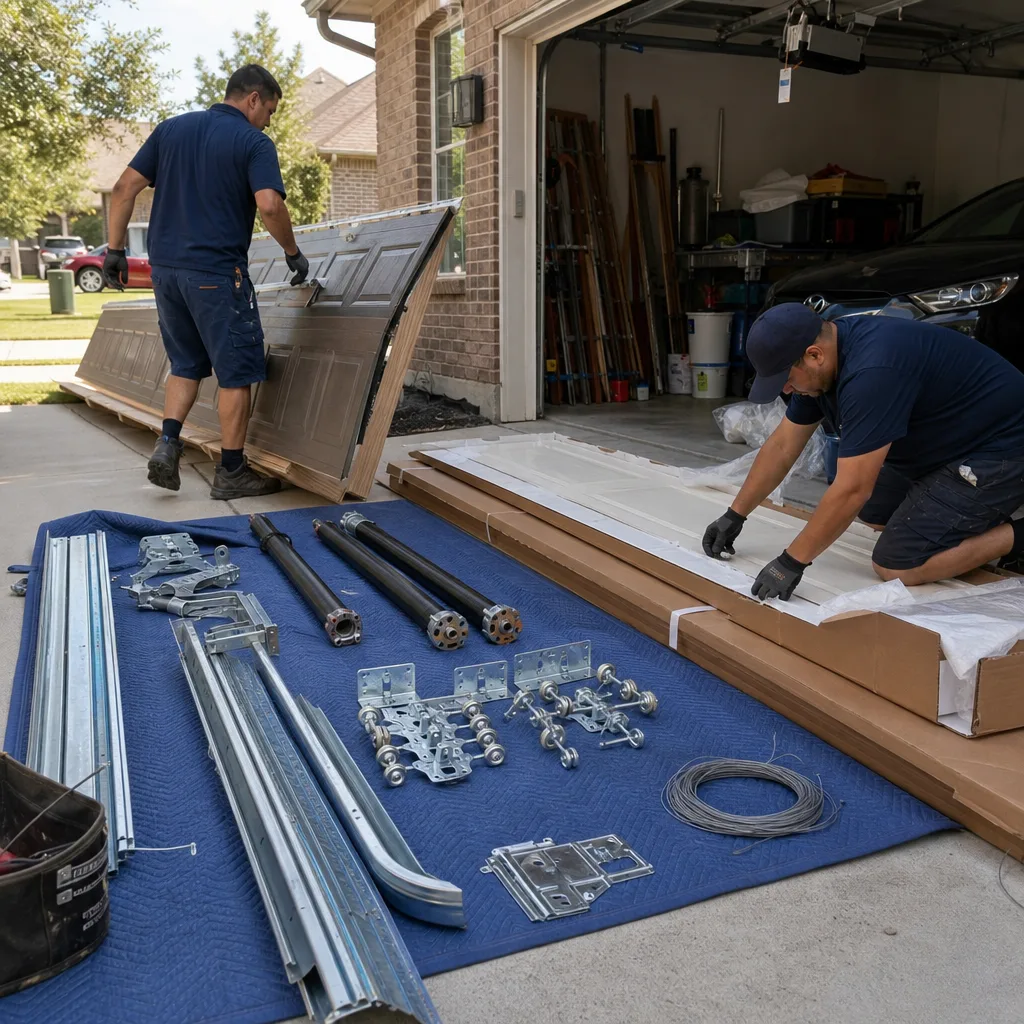
A garage door maintenance checklist is only as good as the measurements it asks you to take. “Check the springs” doesn’t tell you that a two-millimeter coil gap means the spring has entered its last third of life. “Test the balance” doesn’t tell you that two inches of drift in 60 seconds will shorten your opener’s life to under four years. “Lubricate the rollers” doesn’t tell you that the wrong product destroys nylon rollers in a single season. Now you know the numbers, the products, and the schedule. Run the 12-point inspection twice a year, keep the log, and when something fails, call a professional before the small problem becomes a big invoice. For more, see our pages on Garage Door Installation in Carrollton and Garage Door Opener Repair & Installation in Carrollton.
Written by Marcus Deller, Owner at Servo Garage Doors Carrollton, serving Carrollton since 2015.